Imagine Yourself Embracing the World, Exploring New Cultures, and Embarking on Memorable Adventures. To make these dreams a reality, you must first navigate the visa application process for international travel. Understanding the steps involved and gathering the necessary documents may seem daunting, but fear not! In this article, you will discover a step-by-step guide that will assist you in successfully applying for an international travel visa, allowing you to embark on that much-awaited journey of a lifetime. So, grab your passport and let’s get started on this exciting journey together!

How to Apply for an International Travel Visa
Planning to travel internationally? One of the most important steps you need to take is to apply for a visa. A visa acts as an official permission granted by the government of the country you plan to visit, allowing you to enter, stay, and exit the country legally. The visa application process can vary depending on your destination and the purpose of your visit. To help you navigate through this process smoothly, we have outlined a comprehensive guide on how to apply for an international travel visa.
1. Determine visa requirements
1.1 Research visa requirements for your destination
Before you begin the visa application process, it is crucial to familiarize yourself with the visa requirements of your destination country. These requirements can vary greatly from country to country, so it is important to research and understand the specific criteria you need to meet.
1.2 Check entry and exit requirements
In addition to visa requirements, it is equally important to check the entry and exit requirements of your destination country. Some countries may require you to present certain documents upon arrival or departure, such as a return ticket or proof of vaccination. By knowing and fulfilling these requirements in advance, you can avoid any last-minute complications during your travel.
1.3 Determine the type of visa you need
Different countries offer various types of visas depending on the purpose of your visit, such as tourist visas, business visas, or student visas. It is essential to determine the specific type of visa you need to apply for, as each type has its own set of requirements and limitations. Make sure you select the correct visa category that aligns with the purpose of your travel.

2. Collect required documents
Once you have determined the visa requirements and the type of visa you need, it is time to gather all the necessary documents. The documents you need may vary depending on the destination and the type of visa you are applying for. Here are some common documents you will likely need:
2.1 Passport
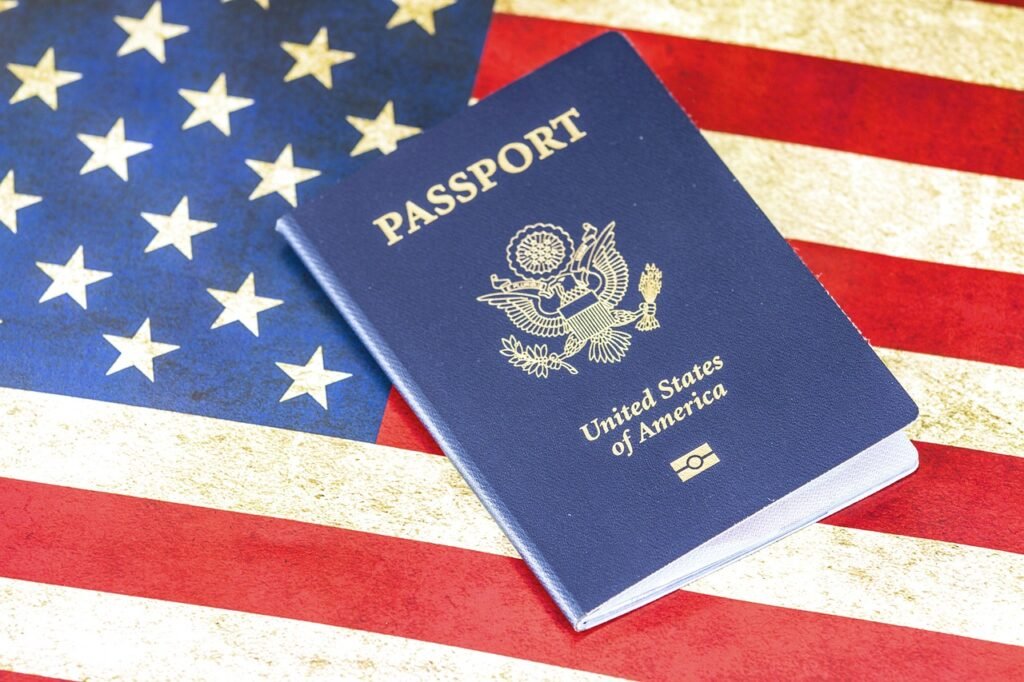
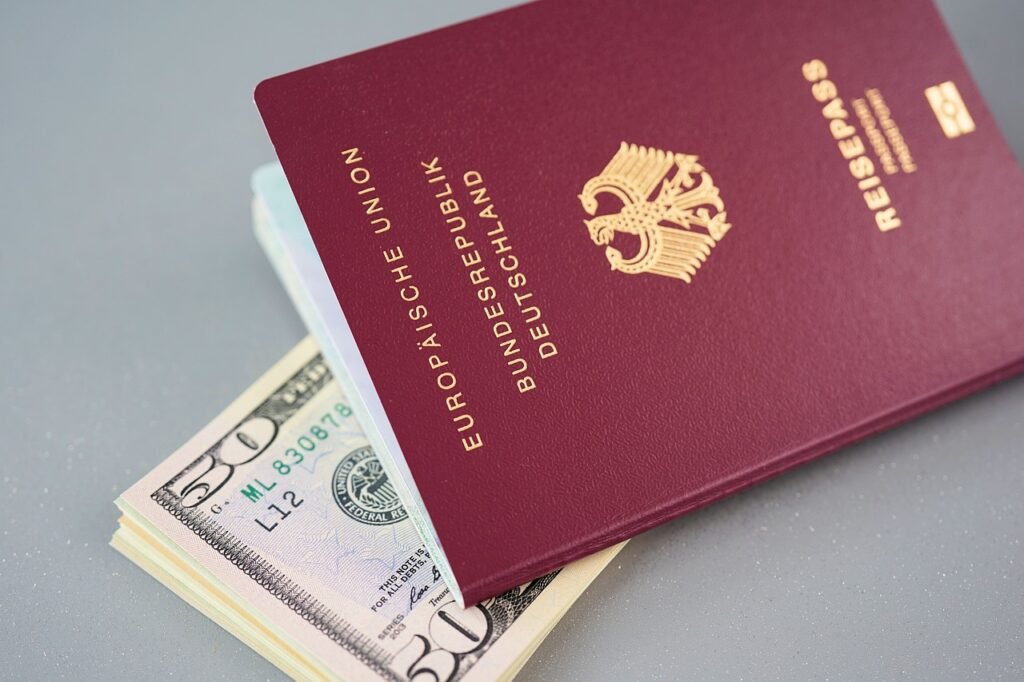
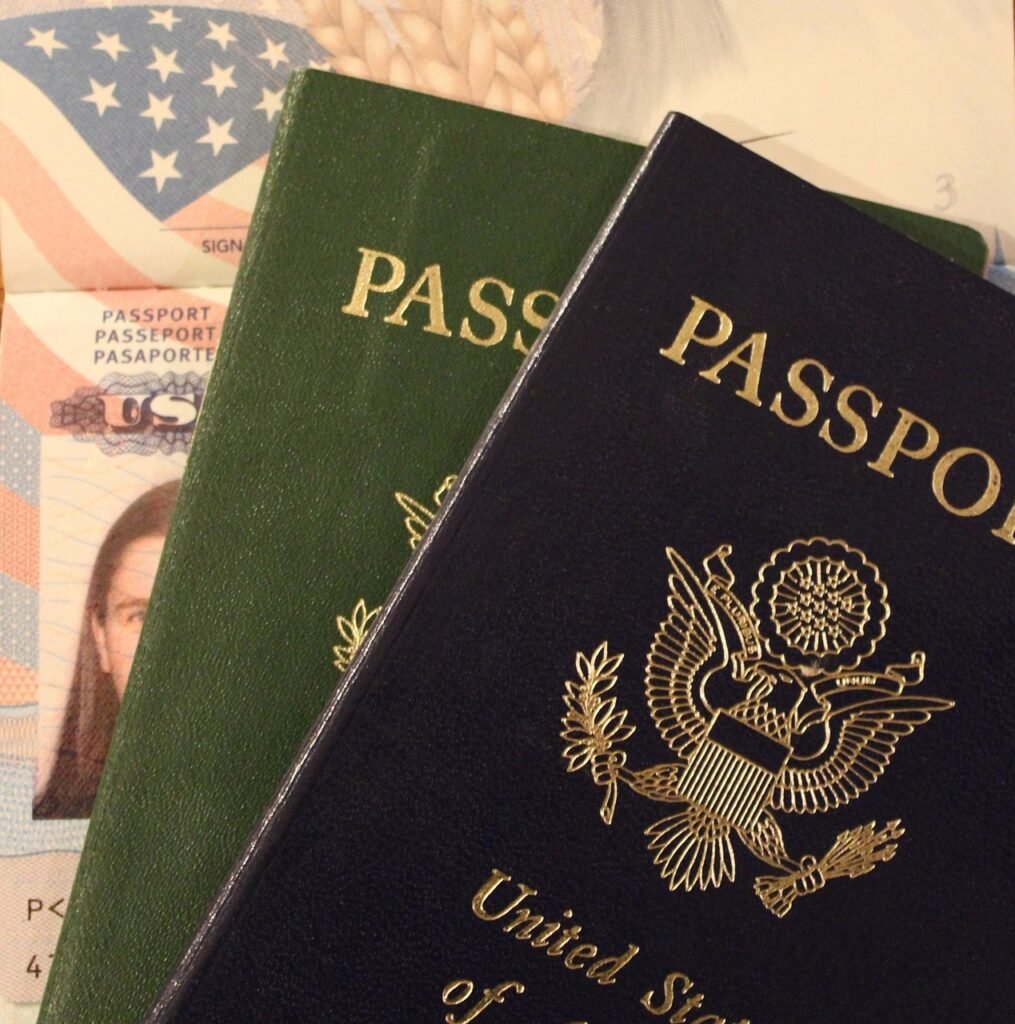
A valid passport is a fundamental requirement for any visa application. Ensure that your passport is valid for at least six months beyond your intended departure date. Additionally, make sure your passport has sufficient blank pages for visa stamps.
2.2 Visa application form
Most countries require you to fill out a visa application form. This form collects important details about your personal information, travel history, and the purpose of your visit. It is crucial to accurately complete the application form, providing all the required information in a clear and concise manner.
2.3 Proof of travel arrangements
You may be required to provide proof of your travel arrangements, such as flight tickets or hotel reservations. These documents serve as evidence of your intended itinerary and demonstrate that you have a legitimate reason for visiting the country.
2.4 Proof of accommodation
In some cases, you may need to provide proof of accommodation for the duration of your stay. This can be a hotel booking confirmation or a letter of invitation from a friend or family member living in the country.
2.5 Proof of financial means
To ensure that you have the necessary funds to support yourself during your visit, you may need to provide proof of financial means. This can include bank statements, pay stubs, or a letter from your employer stating your current employment status and income.
2.6 Additional documents
Depending on the specific requirements of your destination country, you may need to provide additional supporting documents. These can include documents such as a letter of invitation, proof of health insurance, or a copy of your travel itinerary.
3. Fill out the visa application form
Now that you have collected all the required documents, it is time to fill out the visa application form. Follow these steps to ensure a smooth application process:
3.1 Obtain the application form
You can typically obtain the visa application form from the embassy or consulate of your destination country. Many embassies also provide downloadable forms on their official websites. Make sure you have the latest version of the application form.
3.2 Read the instructions carefully
Before you start filling out the application form, carefully read through the instructions provided. Follow the instructions to ensure that you provide the correct information and complete all sections accurately.
3.3 Provide accurate information
When completing the application form, it is crucial to provide accurate and truthful information. Double-check all the details you enter, including your personal information, passport details, and travel history. Any discrepancies or inaccuracies can lead to delays or even visa rejection.
3.4 Complete all sections
Ensure that you complete all the sections of the application form. Do not leave any sections blank unless they are marked as optional. If a section does not apply to you, write “N/A” or “not applicable” to indicate that.
3.5 Sign and date the form
Once you have completed the application form, sign and date it as required. Make sure your signature matches the one on your passport. Failure to sign the form may result in your application being rejected.
3.6 Gather required supporting documents
Before submitting your visa application, gather all the required supporting documents that need to be submitted with the application form. Ensure that all the documents are complete, valid, and up to date.

4. Schedule an appointment
After completing the visa application form and gathering the necessary documents, it is time to schedule an appointment with the nearest embassy or consulate of your destination country. Follow these steps:
4.1 Contact the nearest embassy or consulate
Look up the contact information for the nearest embassy or consulate of your destination country. You can find this information on the official website of the embassy or consulate. Reach out to them via email or phone to inquire about the visa application process and appointment scheduling.
4.2 Find out the appointment scheduling process
Ask the embassy or consulate about the appointment scheduling process. They will provide you with information on how to schedule an appointment, whether it is online, through a third-party agency, or through direct communication with the embassy or consulate.
4.3 Choose a convenient date and time
Select a date and time for your appointment that is convenient for you and aligns with your travel plans. Keep in mind that appointment availability may vary, so it is advisable to schedule your appointment well in advance to secure your preferred slot.
5. Attend the appointment
The day of your visa appointment has arrived! Here’s what you need to keep in mind:
5.1 Bring all necessary documents
Make sure you bring all the necessary documents with you to the appointment. Organize them in a neat and easily accessible manner to facilitate the application process. It is always better to carry both originals and copies of your documents to avoid any complications.
5.2 Dress appropriately
When attending your visa appointment, it is advisable to dress appropriately. Dress professionally to create a good impression and demonstrate that you take the visa application process seriously.
5.3 Be prepared for an interview
During your appointment, you may be required to attend an interview with a consular officer. Be prepared to answer questions regarding your travel plans, the purpose of your visit, and any other relevant information. Answer truthfully and confidently.
5.4 Pay the visa application fee
Most visa applications require the payment of an application fee. Check the fee amount and ensure that you have the necessary funds to pay it. Many embassies and consulates accept cash or credit card payments, but it is advisable to confirm the accepted payment methods in advance.
6. Pay the visa fee
Once you have attended your appointment and provided all the necessary documents, it is time to pay the visa application fee. Here’s what you need to do:
6.1 Determine the visa fee amount
Before paying the visa fee, make sure you know the exact amount you need to pay. The fee amount can vary depending on the type of visa you are applying for and the country you are visiting.
6.2 Find out payment methods accepted
Contact the embassy or consulate to inquire about the accepted payment methods. Most embassies and consulates accept cash, credit cards, or money orders. It is essential to know the accepted methods in advance to avoid any payment issues.
6.3 Pay the fee
Visit the embassy or consulate with the required payment and pay the visa application fee. Ensure that you obtain a receipt or proof of payment as you may need it for future reference or tracking purposes.
7. Submit your application
Now that you have completed all the necessary steps, it is time to submit your visa application. Follow these guidelines:
7.1 Check the embassy or consulate’s submission process
Each embassy or consulate may have a specific process for submitting visa applications. Some may require you to submit the application in person, while others may accept applications by mail or through a designated visa application center. Check the official website or contact the embassy or consulate directly to know the submission process.
7.2 Submit your application and required documents
Ensure that you submit your application and all the required documents as per the embassy or consulate’s instructions. Double-check everything before submitting to avoid any missed documents or mistakes.
7.3 Obtain a receipt or acknowledgment
Once you have submitted your application, make sure you obtain a receipt or acknowledgment to confirm that your application has been successfully received. Keep this receipt safely as you may need it for tracking the status of your application later.
8. Track the status of your application
After submitting your visa application, it is natural to be eager to know its status. Here’s how you can track the progress:
8.1 Obtain a tracking number
When you receive the receipt or acknowledgment after submitting your application, it may include a tracking number. This number is unique to your application and allows you to track its status online or by contacting the embassy or consulate.
8.2 Follow the instructions to track your application
Use the tracking number provided to follow the instructions given by the embassy or consulate to track the status of your application. Many embassies and consulates have online portals specifically designed for this purpose, making it convenient to monitor your application’s progress.
8.3 Contact the embassy or consulate if needed
If you have any concerns, questions, or if there is a delay in the processing of your application, do not hesitate to reach out to the embassy or consulate directly. They will be able to provide you with the necessary updates and guidance.
9. Wait for processing
Patience is key during the visa application process. The processing time for visas can vary depending on several factors, including the destination country, the time of year, and the type of visa being applied for. Here’s what you need to keep in mind while waiting:
9.1 Understand the average processing time
Research and understand the average processing time for visas to your destination country. This will give you an idea of how long you may have to wait. Keep in mind that processing times can occasionally be longer than expected, especially during peak travel seasons.
9.2 Be patient
While waiting for your visa to be processed, practice patience. Avoid unnecessary stress and trust the process. Constantly contacting the embassy or consulate for updates may not accelerate the processing time and may hinder the efficiency of their work.
9.3 Contact the embassy or consulate for updates if necessary
If you have exceeded the average processing time or if you have any urgent travel plans, you may need to contact the embassy or consulate for updates. They will be able to provide you with information on the status of your application and any necessary next steps.
10. Collect your visa
Congratulations! You have received notification that your visa application has been approved. Here are the final steps to complete the process:
10.1 Receive notification of visa approval
After your visa application has been approved, you will receive a notification from the embassy or consulate. This notification may be sent via email, SMS, or mail, depending on the preferences and procedures of the embassy or consulate.
10.2 Collect your visa from the embassy or consulate
Upon receiving the notification of visa approval, it is time to collect your visa. Follow the instructions provided by the embassy or consulate to know when and where to collect your visa. Make sure you bring a valid ID and the receipt or acknowledgment you received during the application process.
10.3 Check the visa for accuracy
Before you travel, carefully check your visa for accuracy. Ensure that all the information, such as your name, passport number, visa type, and validity dates, is correct. If you notice any discrepancies, contact the embassy or consulate immediately for clarification or rectification.
Applying for an international travel visa may seem like a complex process, but by following these steps and staying organized, you can navigate through it smoothly. Remember to start the process well in advance of your intended travel date, as visa processing can take time. With proper preparation and careful attention to detail, you will be one step closer to embarking on your international adventure. Happy travels!
